Aeroponics Guide for Vegetable Gardening
Growing vegetables with aeroponics is an exciting, efficient, and high-tech method. It can seem daunting at first, but by breaking it down, it's very achievable.
This guide will take you from understanding the basics to a step-by-step setup and maintenance routine.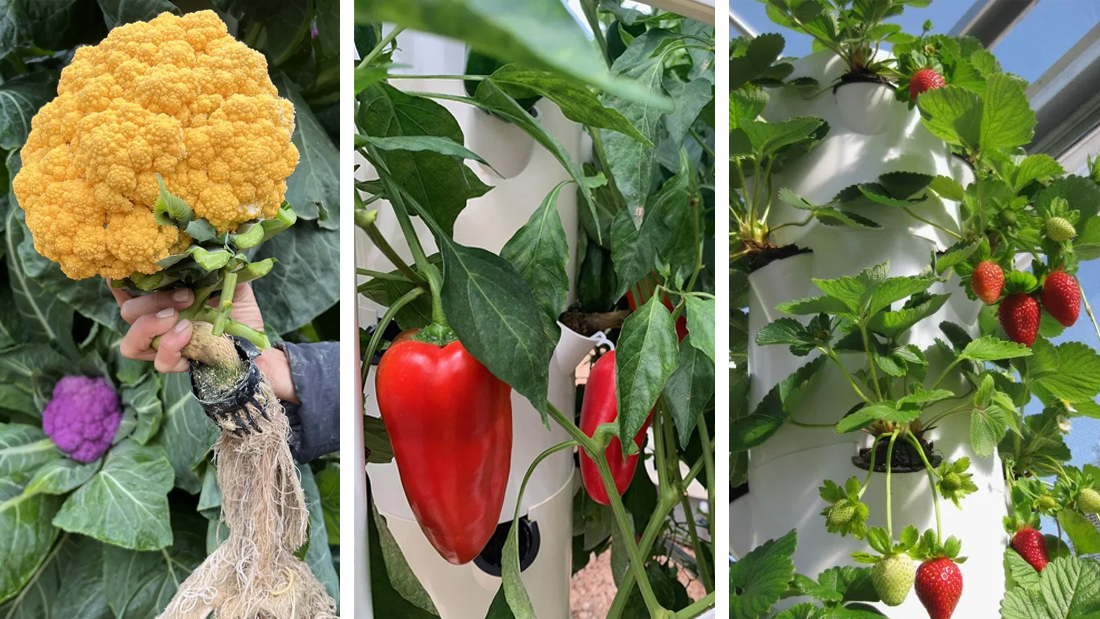
What is Aeroponics?
Aeroponics is a method of growing plants in an air or mist environment without the use of soil or an aggregate medium. Plant roots are suspended in a dark, enclosed chamber and are periodically misted with a nutrient-rich water solution.
Core Principle: The roots have maximum access to oxygen, which accelerates growth and allows for more efficient nutrient uptake compared to other methods like hydroponics or soil.
Advantages & Challenges
| Advantages | Challenges |
|---|---|
| Faster Growth: Up to 30% faster than hydroponics. | Initial Cost: Higher startup cost for a quality system. |
| Water Efficiency: Uses up to 95% less water than soil gardening. | Technical Knowledge: Requires understanding of pumps, timers, and nutrients. |
| Space Efficiency: Vertical systems are easy to create. | Power Dependency: Pumps and timers must run continuously. |
| Healthier Plants: High oxygen levels reduce root diseases. | Clogging Risk: Mist nozzles are tiny and can clog if not maintained. |
| Year-Round Growing: Perfect for indoor and urban farming. | Rapid System Failure: If the misting cycle fails, roots can dry out and plants die quickly (in hours). |
 Step-by-Step Guide to Building a Simple Aeroponics System
Here’s how to build a basic, effective system, often called a "Low-Pressure Aeroponics" (LPA) system, which is great for beginners.
What You'll Need:
-
Reservoir: A large, dark, food-grade bucket or tote (5-gallon/20L is a good start). Darkness prevents algae growth.
-
Lid: The tote lid or a piece of thick foam board that fits snugly on the reservoir.
-
Growing Chambers: Net cups/pots.
-
Growing Medium: Something to hold the plant and retain a little moisture at the base. Rockwool cubes, neoprene collars, or clay pebbles are perfect.
-
Pump: A submersible water pump (a fountain or hydroponic pump, ~400 GPH for a small system).
-
Misting Nozzles: Specific misting or fogging nozzles (e.g., 1/4" threaded nozzles). Start with 1-2.
-
Tubing: 1/4" or 3/8" black vinyl tubing to connect the pump to the nozzles.
-
Timer: A digital cycle timer is CRITICAL. This is not a simple light timer. It needs to be able to turn the pump on for short bursts (seconds) and off for longer periods (minutes).
-
Tools: Drill with hole saw bits (to match net cup size), utility knife.
-
Seedlings: Start with easy, fast-growing veggies. Lettuce, kale, spinach, and herbs (basil, mint) are perfect for beginners.
The Build Process:
1- Prepare the Lid:
-
-
Using the hole saw, drill holes in the lid for your net cups. Space them 6-8 inches apart.
-
Drill a small hole for the tubing to pass through from the pump inside to the misting nozzles above.
-
2- Assemble the Misting System:
-
-
Place the submersible pump at the bottom of the empty reservoir.
-
Run the tubing from the pump, through the small hole in the lid.
-
On the top side of the lid, create a "manifold." You can use a PVC pipe or simply run the tubing in a loop.
-
Install the misting nozzles into the manifold/tubing, pointing down towards the reservoir.
-
3- Set Up the Plants:
-
-
Start your seeds in a rooting medium like Rockwool cubes.
-
Once the seedlings have sprouted and developed a small root system, place the cube into a net cup.
-
Use a neoprene collar or clay pebbles to secure the seedling in the net cup.
-
Insert the net cups into the holes in the lid. The roots should be dangling freely inside the reservoir chamber.
-
4- Final Setup:
-
-
Fill the reservoir with a balanced, pH-adjusted hydroponic nutrient solution.
-
Place the lid (with plants and misting system) onto the reservoir.
-
Plug the pump into the digital cycle timer, and the timer into the wall.
-
 The Operating System: Timing, Nutrients, and Environment
This is where the magic happens.
1- The Misting Cycle (Most Important Setting)
This is not constant. Roots need alternating cycles of mist and air.
-
For Seedlings/Young Plants: Mist for 15-30 seconds every 5-10 minutes.
-
For Mature Plants: Mist for 15-30 seconds every 3-5 minutes.
-
Observe and Adjust: The roots should be consistently damp but not soaked. They should look like a healthy, white "beard." If they look dry, increase the frequency. If they look brown and soggy, decrease the frequency.
2- Nutrient Solution
-
Use a high-quality, complete hydroponic nutrient solution.
-
pH Level: Maintain a pH between 5.5 and 6.5. Test this daily with a pH test kit or digital meter. This is non-negotiable for nutrient uptake.
-
EC/TDS (Strength): Monitor the Electrical Conductivity (EC) or Total Dissolved Solids (TDS) to ensure nutrient strength is correct.
-
Lettuce/Herbs: EC 1.2-1.8
-
Leafy Greens: EC 1.8-2.2
-
Fruiting Veggies (Tomatoes/Peppers): EC 2.2-2.8
-
-
Change the Reservoir: Completely replace the nutrient solution every 1-2 weeks to prevent salt buildup and imbalances.
3- Environment
-
Light: Provide strong, full-spectrum light. For indoors, LED grow lights are ideal (12-16 hours per day).
-
Temperature: Aim for 65-75°F (18-24°C). Root zone temperature is also important; try to keep it below 75°F (24°C).
-
Air Circulation: Use a small fan to provide gentle air movement. This strengthens plant stems and prevents mold and pests.
Best Vegetables for Aeroponic Beginners
-
Excellent: All leafy greens (Lettuce, Arugula, Kale, Swiss Chard, Spinach), Herbs (Basil, Cilantro, Mint, Dill).
-
Good (Slightly more advanced): Bush Beans, Peas, Strawberries, Cucumbers (bush varieties).
-
Advanced: Large, heavy, and long-growing plants like Tomatoes and Peppers. They require more robust support, stronger nutrients, and larger systems.

Troubleshooting Common Issues
-
Root Rot (Brown, slimy roots): Caused by lack of oxygen, high water temps, or pathogens. Ensure your misting "off" cycle is long enough, keep reservoir cool, and consider adding a beneficial enzyme product like Hydroguard.
-
Clogged Nozzles: The #1 mechanical issue. Use a pre-filter on your pump and check/clean nozzles weekly.
-
Nutrient Deficiencies (Yellow leaves, stunted growth): Check and adjust your pH first! This is the most common cause. Then, ensure your EC is at the right level.
-
Pump Failure: Have a backup plan. A failed pump can kill your plants in a matter of hours.
Taking it to the Next Level: High-Pressure Aeroponics (HPA)
The system described above is Low-Pressure Aeroponics (LPA). For even better results, High-Pressure Aeroponics (HPA) uses a high-pressure pump (80-100 PSI) to create a much finer mist/droplet size. This further increases oxygen and nutrient absorption. HPA is the professional standard but is more expensive and complex to set up.
Starting with a simple LPA system is the perfect way to learn the principles and enjoy the incredible benefits of growing your own food with aeroponics. Happy growing
Danh mục
Danh mục! Chưa được thiết lập.


